Photos and brief instructions of an easy felting Christmas project which you can make into a Christmas card or use for a festive Christmas coaster.
You will need a tea towel, some thin plastic or bubble wrap, paper, pins, needle, shiny thread, prefelt, soap and water.
First you draw your design, pin it onto prefelt and cut around.
Then cut a 13cm square out of prefelt and add detail with shiny thread. Here I laid the dove on the square to know where I wanted the leaves.
Seen without the dove.
Place the dove in place, put it on a square of thin plastic or bubble wrap, on top of a tea towel and wet with warm soapy water.
If anything moves carefully reposition it and then cover with thin plastic or bubble wrap. Sprinkle with some of the warm soapy water so your hand can slide over the plastic and rub gently for five minutes or so, turn and rub the back also for five minutes.
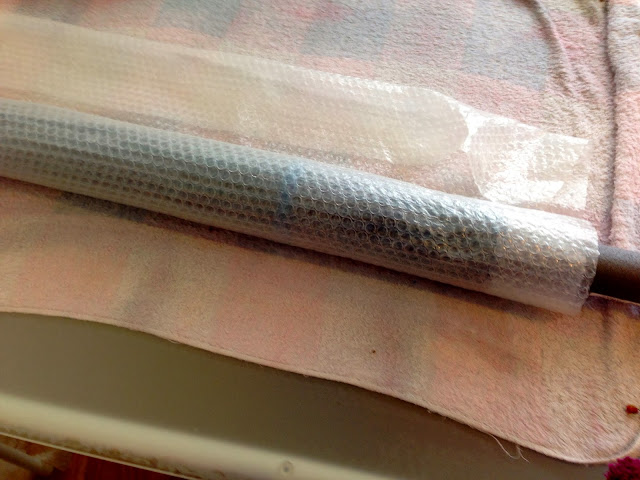
Now you need to roll - one of the easiest things to use is a bamboo mat but if you don't have one it's easy enough to roll the tea towel up to form a roller and then continue to roll up the plastic and felt. I find it easier to roll backwards and forwards if the tea towel is slightly wet, which it perhaps will be from wetting the piece but if not you can sprinkle a bit of water onto it.
Roll for about 50 rolls ( I use little pressure) before unrolling and turning the piece a quarter turn clockwise. Then roll for another 50 rolls.
Turn again and roll 50 rolls.
And again.
Then flip everything over so the back is showing and repeat the above rolling but roll for 100 rolls each way.
Turn again so the front is facing and roll another 50 rolls each way.
Keep checking to see if the felt has shrunk - you want it to shrink to about 11.5cms.
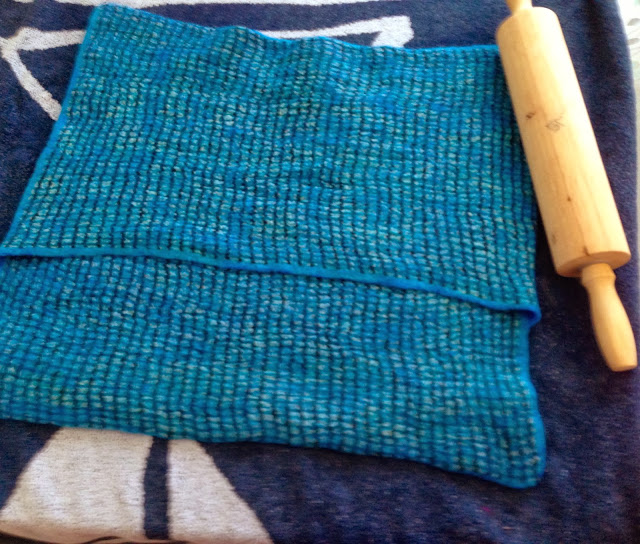
When it is as felted as you require roll up and rinse under a warm tap, then pat dry on a towel and if possible roll flat with a rolling pin.
Here are some other designs.
They could be used together to make a table runner maybe?


