Pages

Saturday 26 October 2013

Sari Silk Felted Bags


Here's how I make my bags....

For the purple bag above I used about 300g - it's quite good to split the colours in half so you know you have the same for each side.


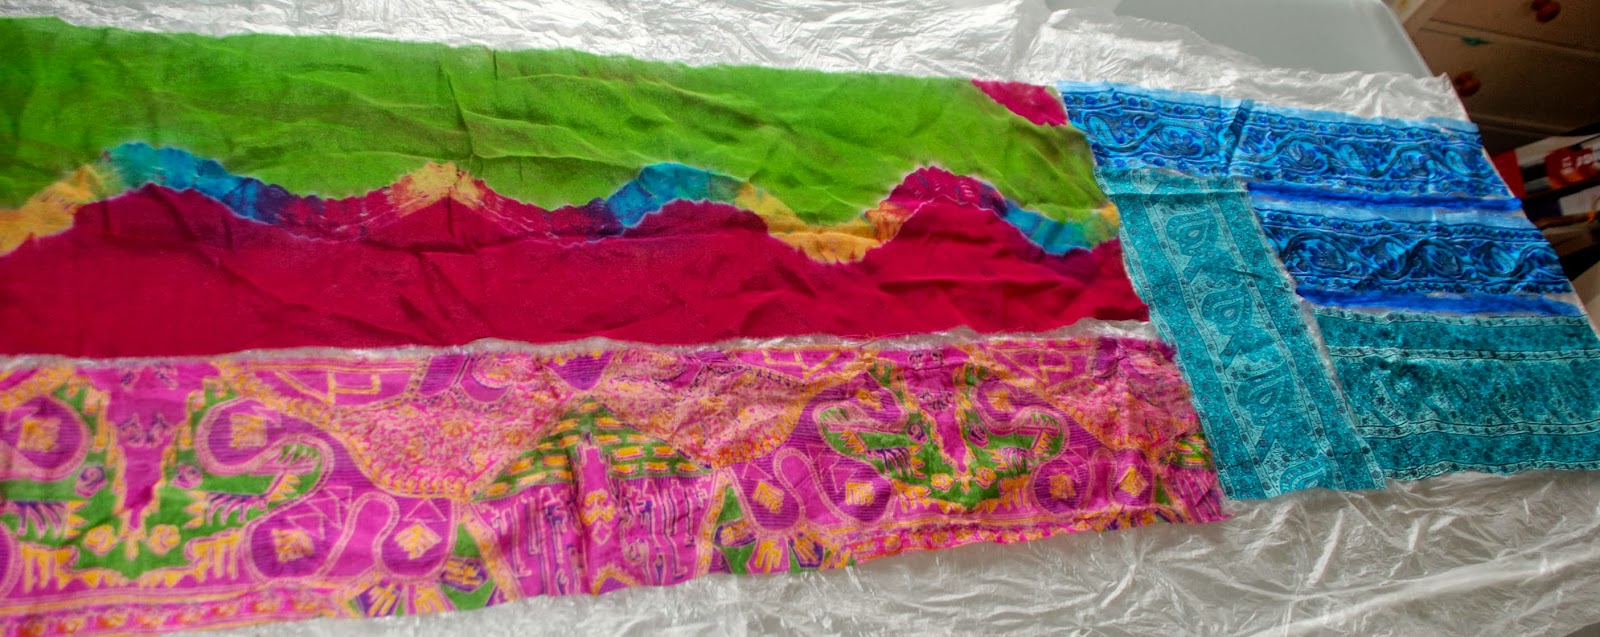
I put one or more pieces of sari silk onto the resist.

I put a very fine wispy layer of merino fibres on top of the silk and I place the colours I want to see at the sides. Then I lay down a fine layer around the edge -  overlapping about 3 to 5 cm. I then put down one vertical layer (Or you can do the horizontal layer first if you prefer).

Then one horizontal layer, covering the resist only. So only one layer is going to overlap the resist.  I then wet, cover with bubble wrap, rub to spread the water and to gently push out any trapped air. You want to avoid moving the sari silk.


Then holding the top layer of bubble wrap, the felt, the resist and the bottom layer of bubble wrap I flip everything over.

I put the second piece of sari silk on the resist and again put a thin wispy layer over this and on the resist at the sides before folding the edges over, as tightly as possible. I then repeat what I did on the first side -laying down a thin layer at the edge, overlapping the sides, then one vertical and one horizontal layer.

l repeat the above two more times.


So in total there are six (fairly thin) layers each side with six overlapping layers.

When all the layers are finished and folded over I start to rub everything, alternating rubbing with my hand and rubbing with a scrunched up plastic bag. I pay particular attention to the sides. I then roll it up around a piece of pipe insulation and roll from all directions until the resist begins to buckle. 
I cut the top open which allows the resist to come out a little but I leave it in and continue to roll.


When it is quite well felted I remove the resist and carefully turn inside out. I then roll some more, followed by carefully dropping on the table onto bubble wrap - I sometimes go and do this in the bath - the felt in the bath - not me!


 I then roll some more and when it is fully felted I roll it with a rolling pin since I like to get it as smooth as possible. Then whilst it is still wet I mould it into the shape I want my bag. If I'm using a frame I put it in at this stage since the felt does shrink a little as it dries.


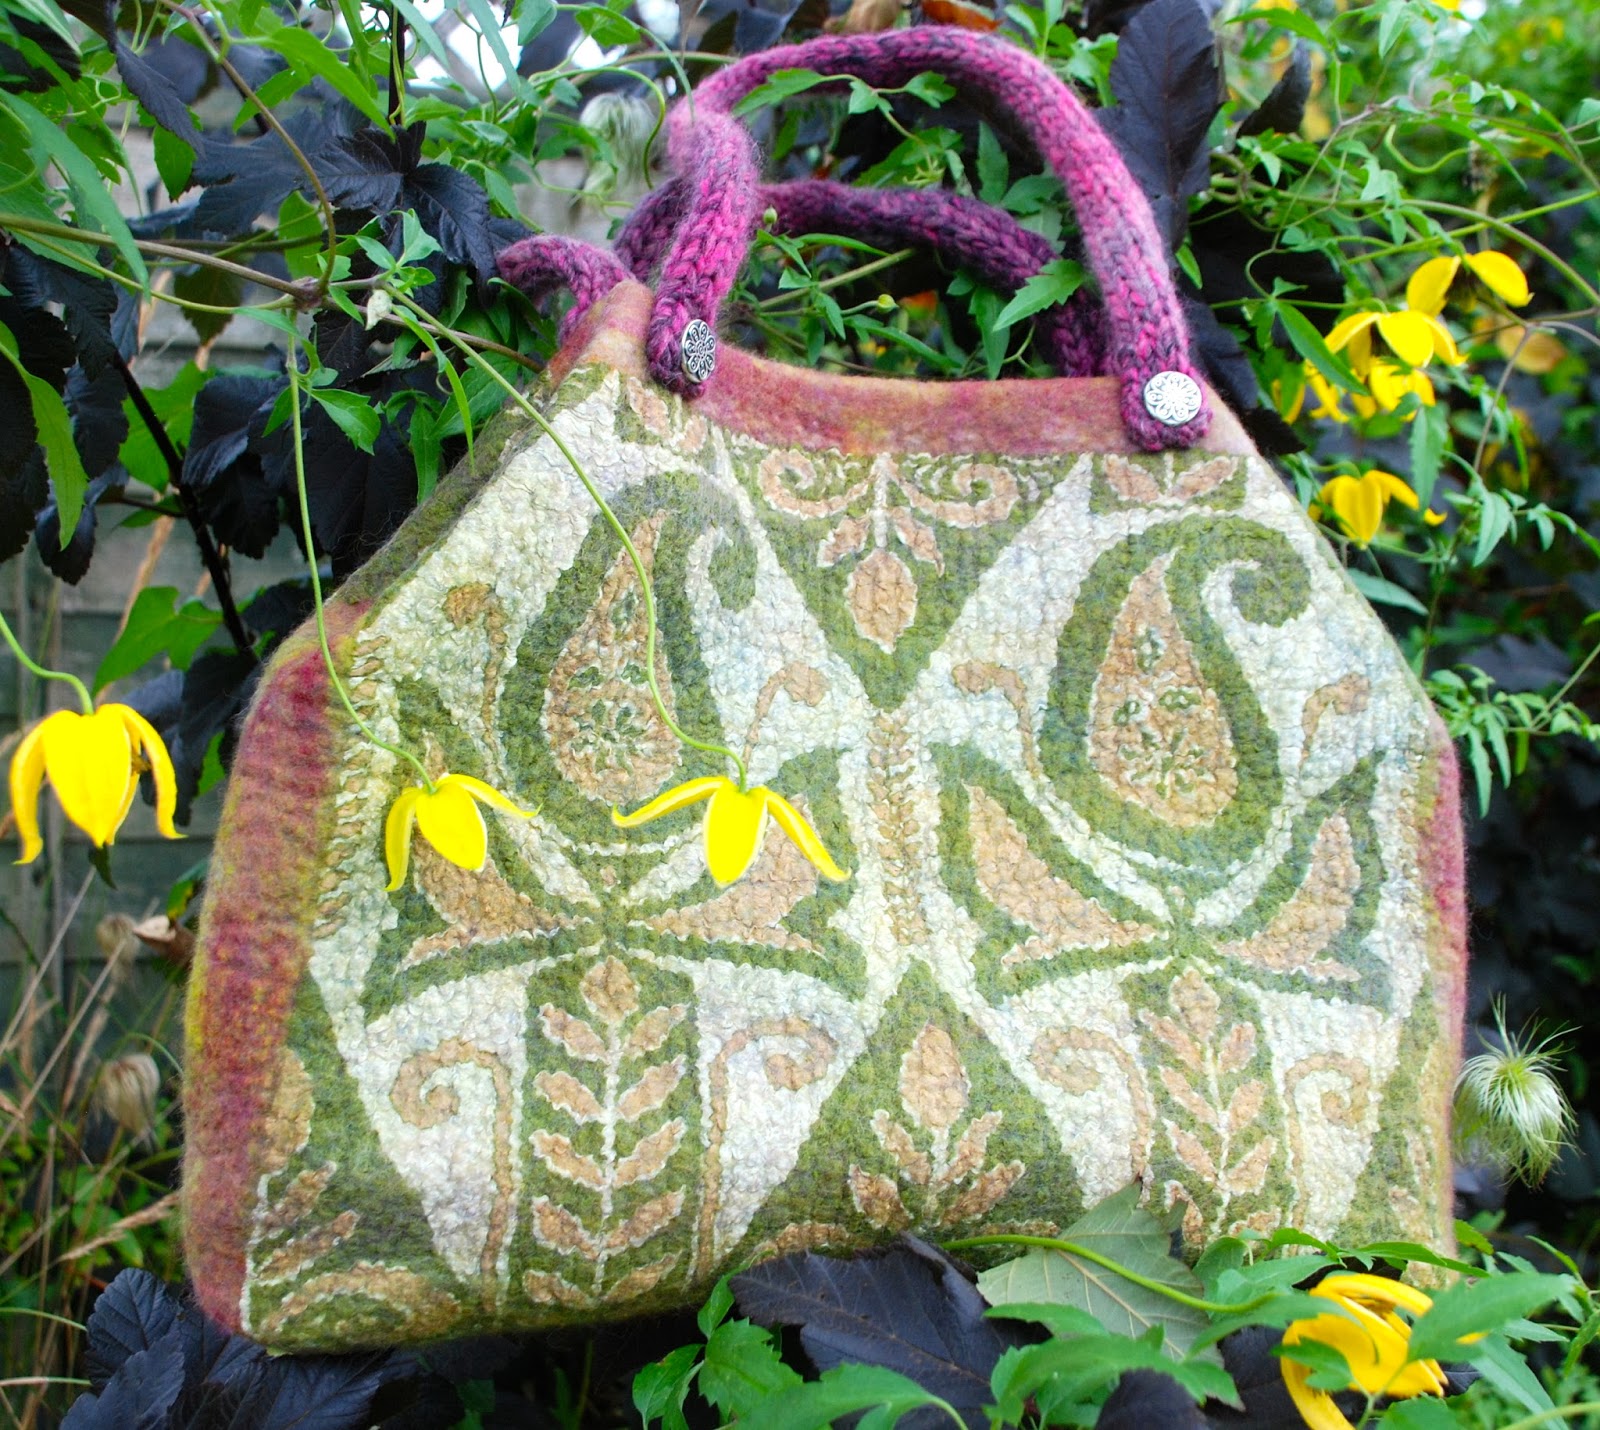
Here's the finished bag.


I like to knit the straps and crochet the pockets although on this bag I could have cut into the felt overlap to create pockets as I did with my cushion bag.


I was surprised how purple it turned out - I had used some grey under the resist but like the effect.

And here are a few pictures of another bag - I got a bit carried away with the making and didn't take many photos.


Monday 21 October 2013

Bakewell Wool Gathering


Just had a very enjoyable weekend at Bakewell Wool Gathering. Organised by the lovely Carol from 'Skeins' seen here receiving some very well deserved flowers for all her hard work.

There were lots of wonderful stalls and I managed to take a few photos of the ones in the same room as me.

Here's just a little of "The Wool Gathering's" many beautiful hand knitted creations.


 Sarah from 'Did you Make It Yourself" had indeed made many amazing things, displaying a huge range of skills  - knitting, felting, sewing, patchwork - all beautifully done.


'Wool Stories' had lots of spinning and felting wonders in absolutely fantastic colours.


And then there were lots of wonderful hand dyed wool from:

The Threshing Barn

Coastal Colours


Willo Fibres

And Freyalyn's Fibres

There was also some wonderful Rag Wool products from Rebellious Rags.

And then there was me.


Met lots of interesting and interested customers and have been asked to post photos and info on how I make my bags and cushions - which I will hopefully do in the next couple of days.

Pippin stayed home and made a new woolly friend of her own!


Thursday 3 October 2013

Yarndale and Sari Silk Scarves


 I've had a busy few months preparing to be an exhibitor at Yarndale. Here's my pen the night before the show!


This is the first ever Yarndale so it was hard to predict how busy it would be. Luckily it was very busy!
I met lots and lots of lovely people - customers, exhibitors and organisers (who I think did an amazing job at making this such a successful show).

I wish I had taken more photos but I just didn't get the chance!

I also didn't get much of a chance to look around once the show opened but whizzing to my stall on the Sunday morning I was stopped in my tracks by this beautiful crochet scarf from the Natural Dye Studio.


The colours and the yarn are absolutely gorgeous.


I never finish big projects but I'm determined to do a few triangles every day - we'll see!

The only other thing I managed to buy was this cute stitch marker from the lovely Undercover Owl/One Hand Knits.


It might just encourage me to finish the matching sock to the one and only sock I've ever knitted!
                                                                                                                                                                          There was quite a bit of interest in how I"d made some scarves so I promised to post some pictures of how I made them. The instructions are fairly brief but I will try to do a more detailed tutorial soon.


In this one I used quite a few pieces of different coloured sari silk and laid them  on thin plastic, which was on top of a layer of bubble wrap.

 I used long thin strands of merino to edge the entire piece, then I laid wisps of merino over all the joints.

I then laid down two extremely thin layers of merino - there were areas where the sari silk was hardly covered.

Finally I randomly put down some silk thread and did diagonal lines with some fine wool/silk yarn.


 I wet the piece with luke warm water with olive soap flakes in. Covered with thin plastic, rubbing the air gently out of the piece and then I rolled from each end until felted!

Unfortunately I didn't take a photo of the finished scarf! And I sold it on Saturday so can't take one now!

Here are photo's of a blue and a red scarf that I made at the same time - I probably won't do that again though since it was a bit of a squash! They were made the same way as the one above.


Here they are finished.


Will post more detailed instructions soon x